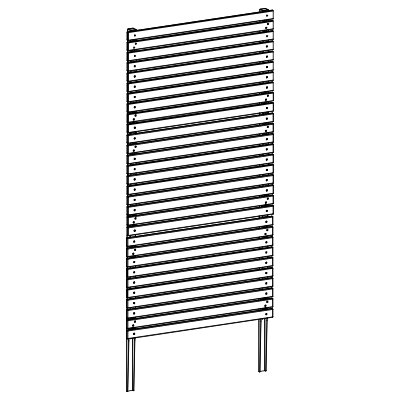
6ft Aspen Wood Privacy Screen Kit (Charcoal)
Before You Begin
Important Safety Notes:
- Always assemble the product on a flat, stable surface.
- Use proper hand protection when handling metal components and tools.
- Do not fully tighten bolts until all components are properly aligned.
- Ensure the panel is level and secure before leaving it unattended.
Returns:
If you wish to return your product, please contact us first — we can often help resolve the issue right away. If a return is still necessary, it must be initiated with the retailer where the product was purchased.
Need Help or Replacement Parts?
If you need replacement parts, assembly assistance, or have questions about the product, our customer service team is ready to help:
- Parts Website: https://parts.nychbrands.com
- Email: help@encloscreens.com
- Phone: 980-580-6508 or 877-304-3263
- Text: 980-580-6508
Customer service agents are available 9am–5pm EST, Monday–Friday.
For Quick Assistance:
- Have reference item number EC18042
- Provide the specific part name (referenced below)
- Include the batch lot number found on the end of the box
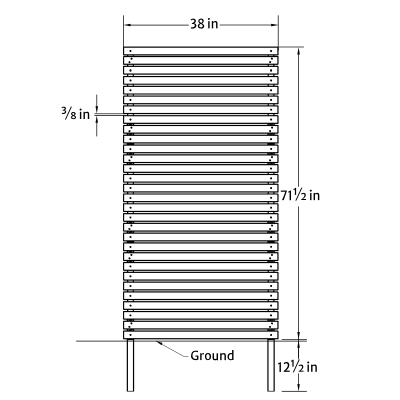
Product Specifications & Dimensions
Part Identification
A
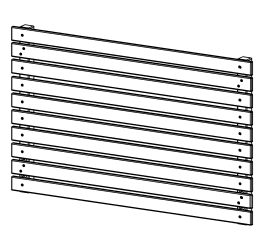
Top Panel (1)
2" x 23¾" x 38"
B
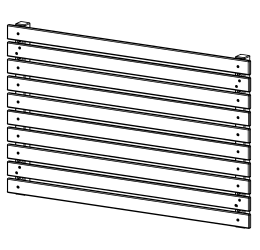
Screen Panel (2)
2" x 24" x 38"
C
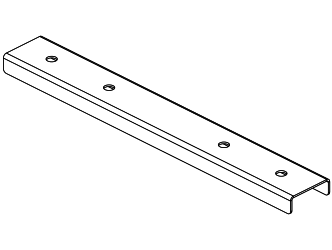
Bracket (4)
D
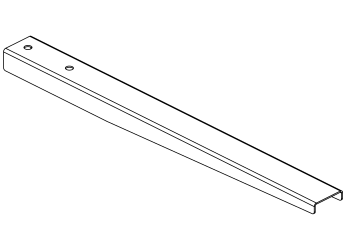
Stake (2)
E
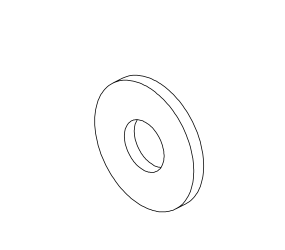
Washer (20)
F
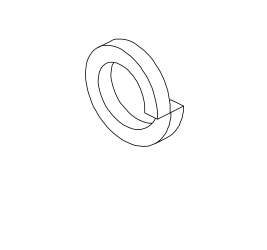
Lock Washer (20)
G
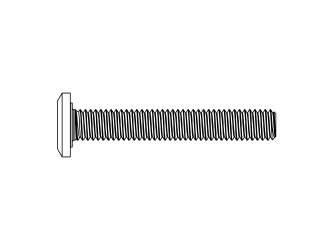
Bolt (20)
H
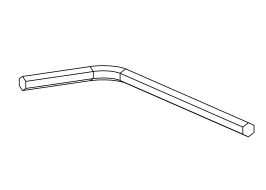
Allen Wrench (1)
I
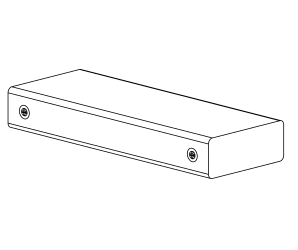
Wooden Block (1)
J
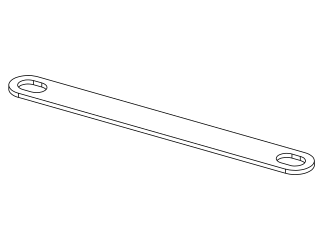
Joiner Clips (2)
Touch-Up Paint

Touch-up paint included for minor damage. For larger issues, contact support for replacement parts.
Step 1: Secure Stakes to Panel
Parts Required
B x1 D x2 E x4 F x4 G x4 H x1
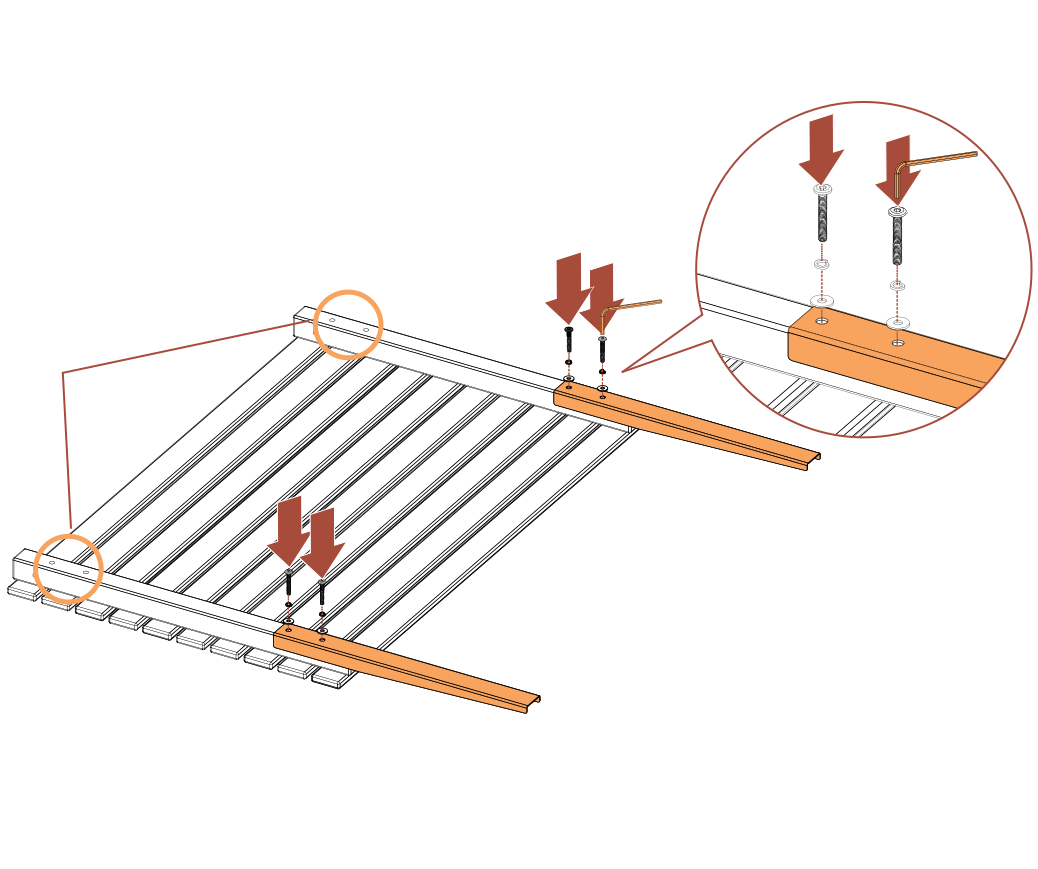
- Attach both Stakes (D) to one Screen Panel (B) using Washers (E), Lock Washers (F) and Bolts (G)
- Hand tighten, then fully tighten with Allen Wrench (H)
Note: Screen Panels (B) have two top bolt holes. The Top Panel (A) has none — keep it aside for Step 3.
Step 2: Install Panel into Ground
Parts Required
I x1
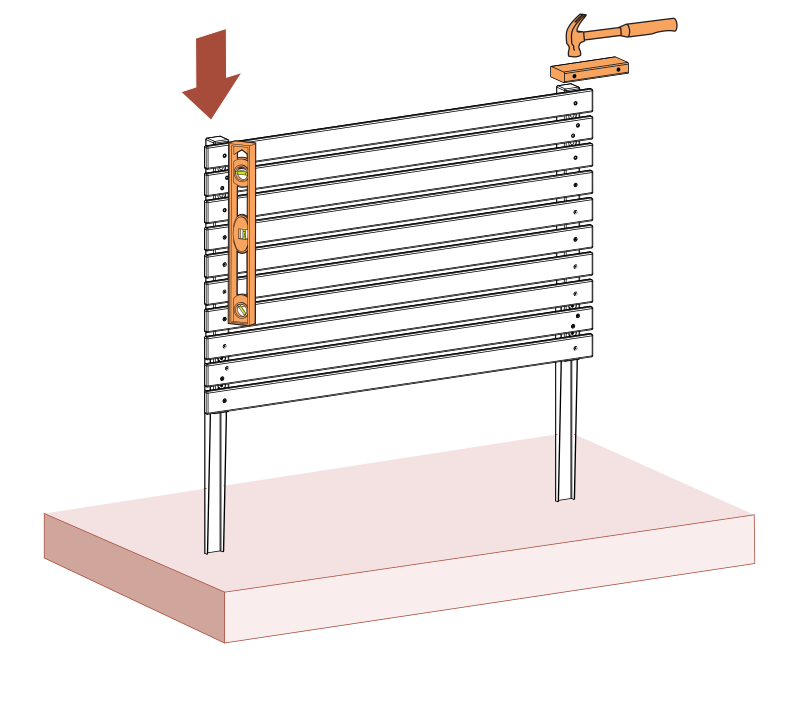
- Insert panel into the ground using the Wooden Block (I) and a hammer
- Alternate sides while hammering until the panel is level with the ground
Step 3: Install Remaining Panels
Parts Required
A x1 B x1 C x4 E x16 F x16 G x16 H x1
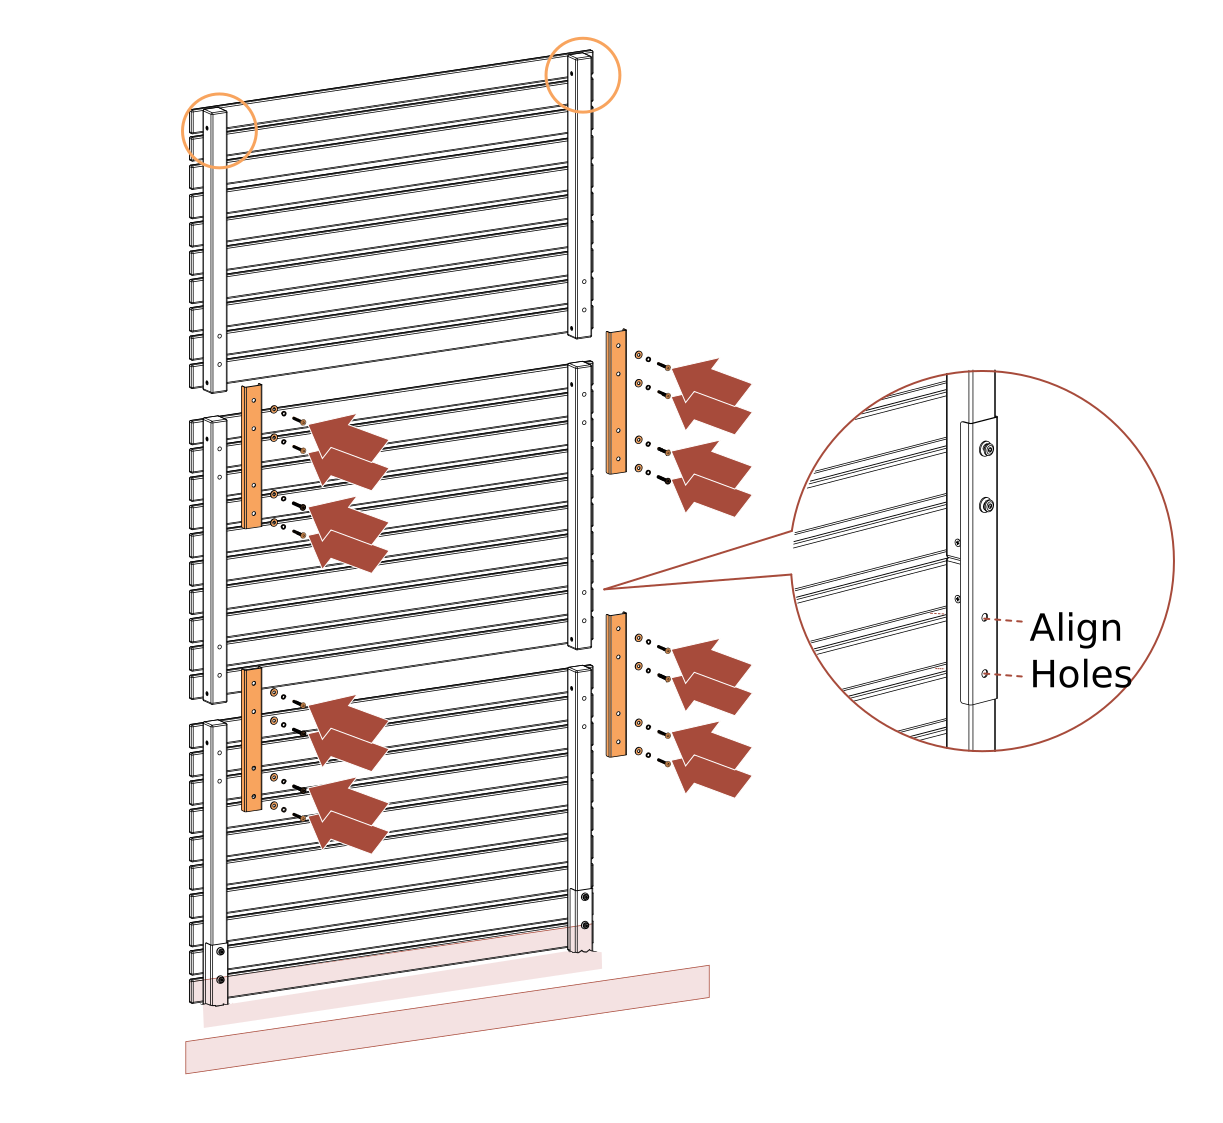
- Stack the second Screen Panel (B) on the installed panel, then the Top Panel (A) on top
- Join the panels with Brackets (C), Washers (E), Lock Washers (F) and Bolts (G)
- Hand tighten until all bolts are installed, then fully tighten with Allen Wrench (H)
Step 4: Join Panels (Optional)
Parts Required
J x2
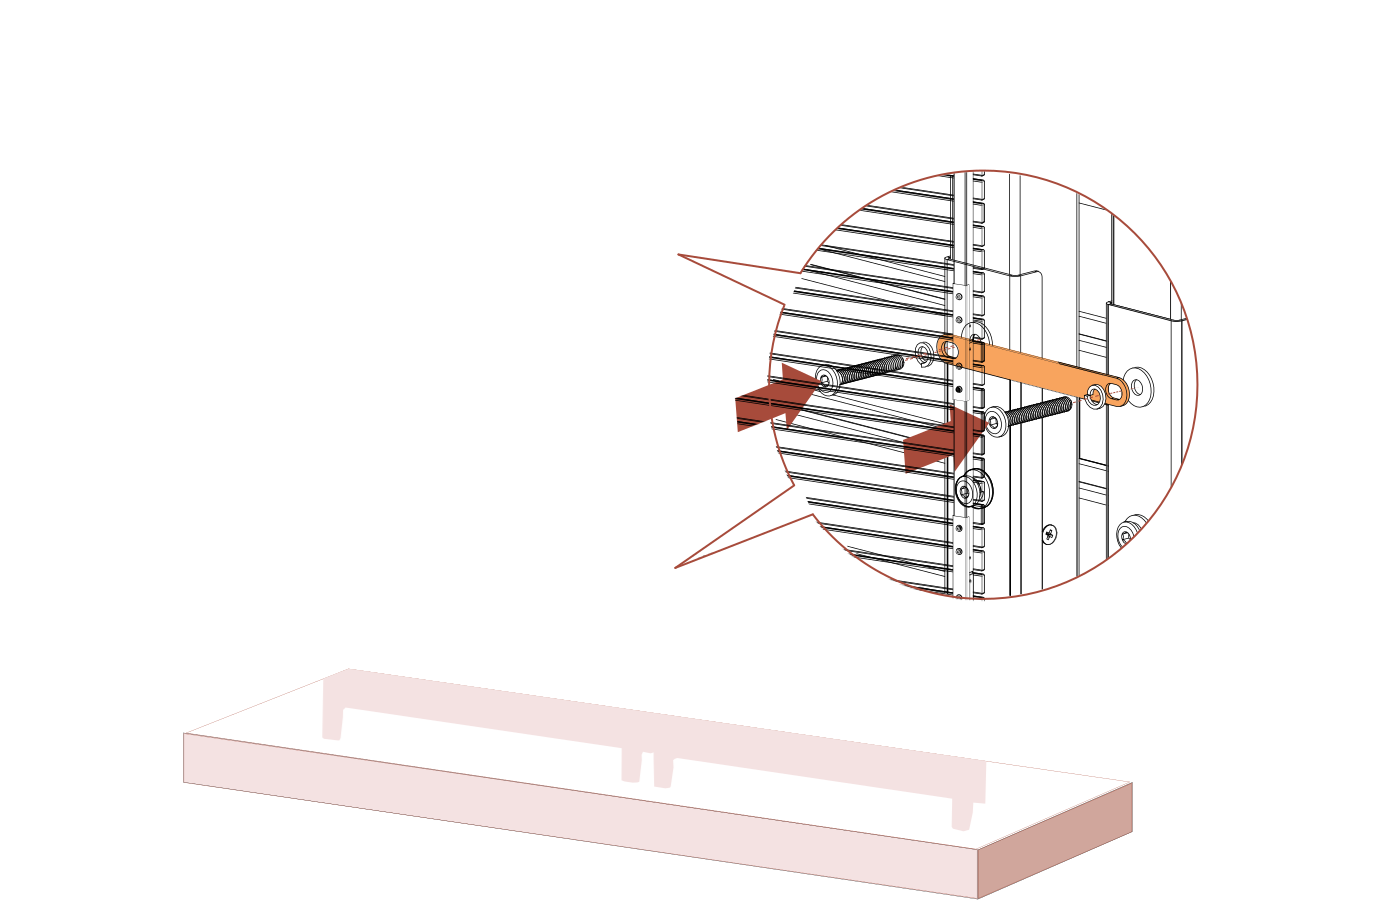
- To connect additional panels (purchased separately), temporarily remove Bolts (G) and insert Joiner Clips (J)
- Reinsert and tighten bolts using the included Allen Wrench (H)
Need Help?
- Email: help@encloscreens.com
- Phone: 980-580-6508 or 877-304-3263
- Text: 980-580-6508
